Tags: Source edit Help |
|||
| Line 8: | Line 8: | ||
[[File:MCU local nav.jpg|thumb|center|700px]] |
[[File:MCU local nav.jpg|thumb|center|700px]] |
||
[[File:MCU local ucx nav.png|thumb|center|700px]] |
[[File:MCU local ucx nav.png|thumb|center|700px]] |
||
| − | The navigation menu can be found in the page header at the top of every wiki page. It has the option to add up to four customizable menu options, in addition to the "Explore" menu |
+ | The navigation menu can be found in the page header at the top of every wiki page. It has the option to add up to four customizable menu options, in addition to the "Explore" menu. |
| − | * The "Explore" tab is always present in the navigation and provides important wiki links, including [[Help: |
+ | * The "Explore" tab is always present in the navigation and provides important wiki links, including [[Help:Discussions|Discuss]] (unless disabled), [[Special:AllPages|All Pages]], [[Help:Community Page|Community]] (unless disabled), [[Help:Blogs|Recent Blog Posts]] (unless disabled), [[Help:Random page|Random page]], [[Help:Videos|Videos]], and [[Help:Adding images|Images]]. For some communities, a "Shop" item may also be present at the bottom (more info [[User blog:MisterWoodhouse/Introducing Affiliate Marketing|here]]), and a "Main Page" link may appear at the top depending on [[Help:Preferences|preference]]. Beyond this user preference, the entire "Explore" menu is not customizable and no additional links may be added. |
| − | * "Discuss" links to your wiki's [[Help:Discussions|Discussions]]. |
||
| − | ** '''Note:''' if Discussions are not enabled, "Discuss" will not appear. |
||
* "Main Page" links to your wiki's [[Help:Main page|Main Page]]. |
* "Main Page" links to your wiki's [[Help:Main page|Main Page]]. |
||
** For users with "Main Page" set as their default landing page, simply clicking the wordmark or [[Help:Sitename|sitename]] text links to the Main Page. '''This is default, and the experience shown to readers.''' |
** For users with "Main Page" set as their default landing page, simply clicking the wordmark or [[Help:Sitename|sitename]] text links to the Main Page. '''This is default, and the experience shown to readers.''' |
||
** For users with "Recent Changes" set as their default landing page, a "Main Page" link will appear at the top of the aforementioned "Explore" tab. Clicking the wordmark or sitename text leads to Recent Changes. |
** For users with "Recent Changes" set as their default landing page, a "Main Page" link will appear at the top of the aforementioned "Explore" tab. Clicking the wordmark or sitename text leads to Recent Changes. |
||
** For users with "Community Feeds" set as their default landing page, a "Main Page" link will ''replace'' the Discussions link with a Main Page link, or generate one in its place if Discussions is not enabled. Clicking the wordmark or sitename text will link to Discussions. |
** For users with "Community Feeds" set as their default landing page, a "Main Page" link will ''replace'' the Discussions link with a Main Page link, or generate one in its place if Discussions is not enabled. Clicking the wordmark or sitename text will link to Discussions. |
||
| − | * |
+ | * A cosmetic header image, which appears behind the navigation, can be uploaded from [[Help:Theme Designer|Theme Designer]]. |
| − | * On the top right corner of the page header, there is a page count along with a few buttons that access to various tools (''For more info, see [[Help:Header shortcuts]]''). All users will see the |
+ | * On the top right corner of the page header, there is a page count along with a few buttons that access to various tools (''For more info, see [[Help:Header shortcuts]]''). All users will see the Discussions button (unless discussions is disabled) and the Light/Dark theme toggle button. Registered users will see the [[Help:Recent changes|Recent Changes]] button, along with the more shortcuts button which provides additional links. |
| − | * On the left, there is a graphical |
+ | * On the left, there is a graphical site logo, along with the community name. By default, the text adopts the wiki's [[Help:Sitename|sitename]], but both site logo and text can be customized via [[Help:Theme Designer|Theme Designer]]. |
== Customizing your navigation == |
== Customizing your navigation == |
||
Revision as of 00:50, 12 August 2021
A wiki's local navigation is the menu that can be found in the page header at the top of all pages. It provides useful links to the most important and interesting pages on your wiki. A well-crafted navigation menu will help readers find key content that they are looking for.
When deciding how to organize your local navigation bar and what content to include, you'll need to put yourself into your visitor's shoes. Think about what they are most likely to be looking for, and provide a straight path to as much relevant wiki content as possible.
Keep in mind that almost all visitors to your wiki come to read articles, not to create them. Editors only make up 0.05 percent of Fandom's visitors, and while wikis couldn't even exist without their hard work, the local navigation bar should first and foremost serve your readers. Editors create awesome content, and the navigation bar helps readers find it, while other site elements, such as the bottom tool bar help editors access the tools they need.


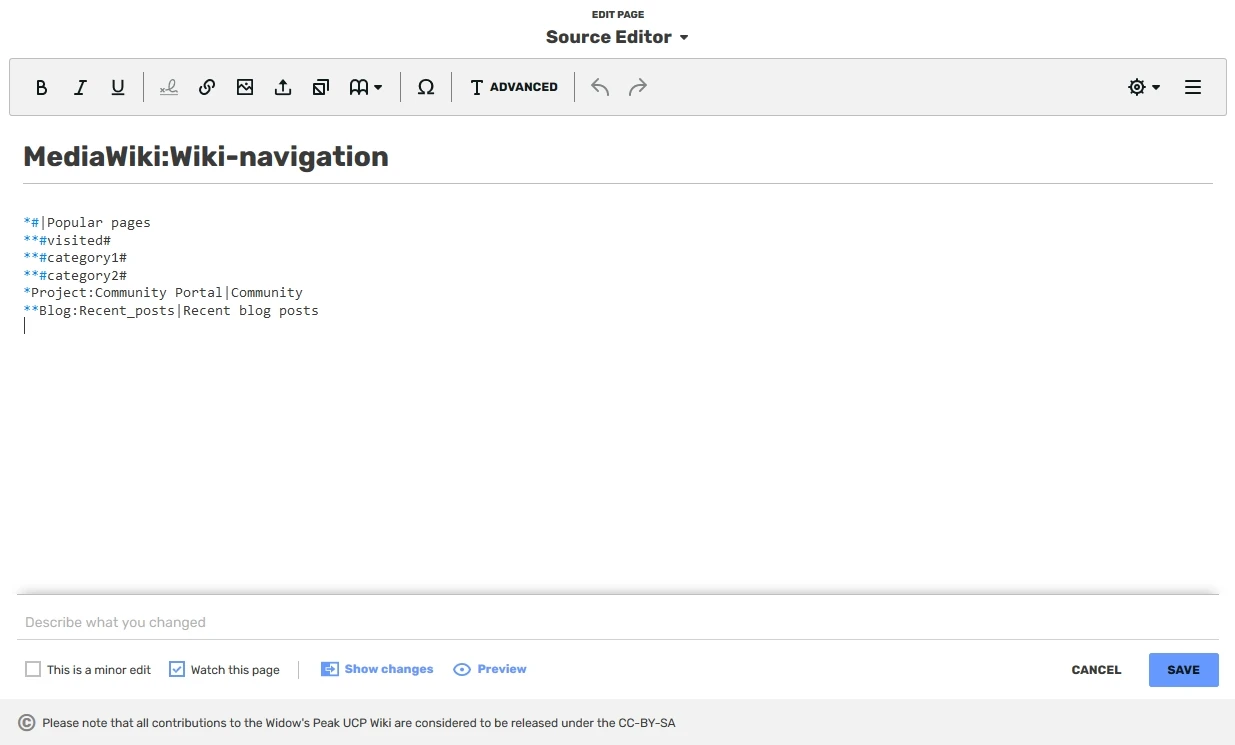
The navigation menu can be found in the page header at the top of every wiki page. It has the option to add up to four customizable menu options, in addition to the "Explore" menu.
- The "Explore" tab is always present in the navigation and provides important wiki links, including Discuss (unless disabled), All Pages, Community (unless disabled), Recent Blog Posts (unless disabled), Random page, Videos, and Images. For some communities, a "Shop" item may also be present at the bottom (more info here), and a "Main Page" link may appear at the top depending on preference. Beyond this user preference, the entire "Explore" menu is not customizable and no additional links may be added.
- "Main Page" links to your wiki's Main Page.
- For users with "Main Page" set as their default landing page, simply clicking the wordmark or sitename text links to the Main Page. This is default, and the experience shown to readers.
- For users with "Recent Changes" set as their default landing page, a "Main Page" link will appear at the top of the aforementioned "Explore" tab. Clicking the wordmark or sitename text leads to Recent Changes.
- For users with "Community Feeds" set as their default landing page, a "Main Page" link will replace the Discussions link with a Main Page link, or generate one in its place if Discussions is not enabled. Clicking the wordmark or sitename text will link to Discussions.
- A cosmetic header image, which appears behind the navigation, can be uploaded from Theme Designer.
- On the top right corner of the page header, there is a page count along with a few buttons that access to various tools (For more info, see Help:Header shortcuts). All users will see the Discussions button (unless discussions is disabled) and the Light/Dark theme toggle button. Registered users will see the Recent Changes button, along with the more shortcuts button which provides additional links.
- On the left, there is a graphical site logo, along with the community name. By default, the text adopts the wiki's sitename, but both site logo and text can be customized via Theme Designer.
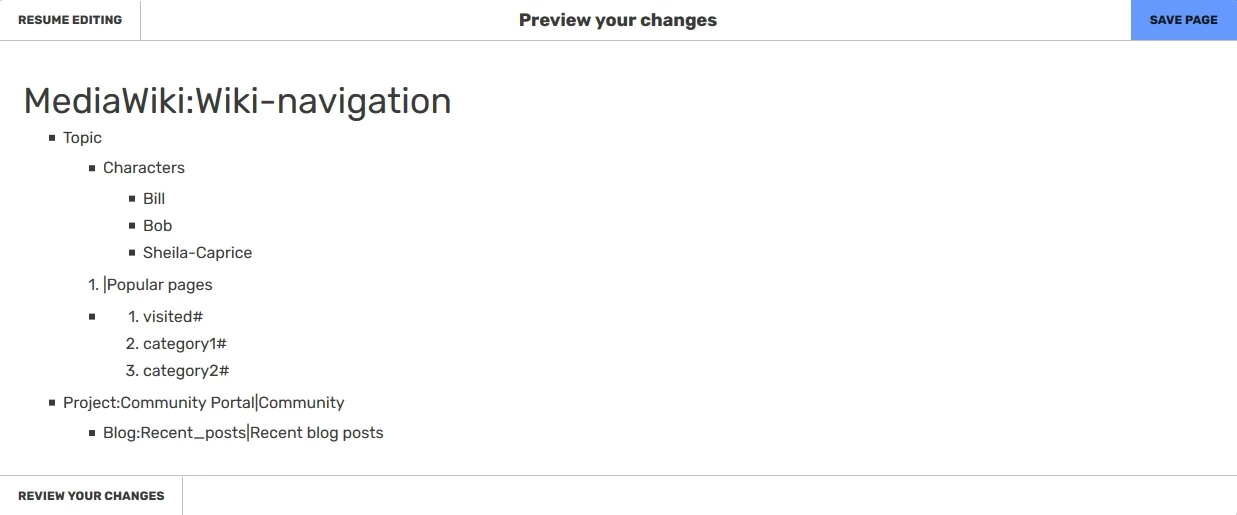
If you are an administrator, you can edit the navigation menu at MediaWiki:Wiki-navigation. You can also access this in your Admin Dashboard by clicking Top Navigation.
Each item in the navigation bar is represented by a line in MediaWiki:Wiki-navigation page. Level 1 items are prefixed with one asterisk (*), level 2 items are prefixed with two asterisks, and level 3 items are prefixed with 3 asterisks. Like so:
After the asterisk, type the name of the page you are linking to. If you want the name to display differently than the page's actual name, set a pipe between the name of the page and the text you want to display. For example, if you are linking to a page called Lion but you want to display it as Kitten, use Lion|Kitten after the asterisk.
If you don't want a navigation item to link to anything, add #| in front of it.
For example, a navigation bar set to:
*#|Movies
** Prequel trilogy
** Sequel trilogy
*#|Video games
** First video game
** Second video game
**#|In Development
*** Untitled Third Video Game|Third game
*** Spin-off (Game)|Recently announced spin-off title
will contain:
- Two Level 1 navigation items, Movies and Video games, that aren't linking to any pages.
- Five Level 2 navigation items, two being under Movies and linking to Prequel trilogy and Sequel trilogy pages on your wiki, and three being under Videogames and linking to First videogame and Second videogame, with In Development not linking to anything.
- Two Level 3 navigation items under In Development, first linking to the Untitled Third Video Game page on your wiki and displaying the text Third game, and a second one linking to Spin-off (Game) and displaying the text Recently announced spin-off title.

After you make your changes, review your changes and save.
How many links can it contain?
The Navigation menu offers a maximum of 312 links, although it is not necessary to use all of them. The links are grouped as:
- 4 Level 1 links which combine for a total width of 550px. These are the links that are always visible above the colored menu bar.
- 7 Level 2 links with a maximum total width of 729px. These are the links that appear on the colored bar when hovering over any of the level 1 links.
- 10 Level 3 links with a dynamic width and a minimum width of 150px. These appear as dropdown style menus under each of the level 2 links.
It is best to showcase as much relevant content as possible in an organized fashion, without overstuffing your navigation. Include links to those categories and pages that are most important for readers, while leaving out any links that are only useful for editors or that are already built into Fandom's interface. For example, links to contact Fandom staff, create a new page, or access Recent Changes can already be found elsewhere on every page, and links to special pages or editing guidelines are only relevant to editors and shouldn't take up a navigation bar slot.
You can use magic words to automatically fill in menu items. Note that these are heavily affected by caching, and it may still be better to list out specific pages instead.
Supported magic words:
#newlychanged#— lists newly changed pages#categoryX#— lists the top pages from the Xth-biggest category on a wiki (replace "X" with a number greater than 0)#category-Y#— lists the top pages from Category:Y (replace "Y" with the name of your category)
Since magic words generate lists of pages, they may only be used as Level 2 menu items; the list they generate will appear as the Level 3 menu items. All of the magic words list a maximum of 7 pages.
Notes:
- Don't forget to include the
#symbols around the magic words you choose to use. - Since magic words list at most 7 pages, up to 3 additional level 3 menu items may be added and will appear after the auto-generated list.
Next pages
- Read our guide on how to decide which links to include in your navigation
- Learn how to edit your toolbar
- Learn how to view the recent changes
Further help and feedback
- Browse and search other help pages at Help:Contents
- Check Fandom Community Central for sources of further help and support
- Check Contacting Fandom for how to report any errors or unclear steps in this article