m (Removing red interlanguage wiki link.) Tag: Help |
(→Auto-populating the menu: to match Help:Magic words) |
||
| Line 51: | Line 51: | ||
** '''#categoryX#''' - Where X is a number greater than 0. This gets the top 8 pages from the Xth-biggest category on a wiki. |
** '''#categoryX#''' - Where X is a number greater than 0. This gets the top 8 pages from the Xth-biggest category on a wiki. |
||
** '''#category-Y#''' - Gets the top 8 pages from Category:Y (replace "Y" with the name of your category). |
** '''#category-Y#''' - Gets the top 8 pages from Category:Y (replace "Y" with the name of your category). |
||
| − | ** '''# |
+ | ** '''#visited#''' — populates a list of the top visited pages from [[MediaWiki:Most popular articles]]. |
| + | ** '''#newlychanged# ''' — Gets the most recent changes from your wiki. |
||
| + | ** '''#topusers#''' — gets a list of the most active users. |
||
| + | |||
== Next pages == |
== Next pages == |
||
* Learn how to edit [[Help:Toolbar|your toolbar]] |
* Learn how to edit [[Help:Toolbar|your toolbar]] |
||
Revision as of 15:58, 17 October 2017
Template:Uni-vidA wiki's local navigation is the menu that can be found at the top of all pages, in the page header, that provides useful links to the most important and interesting pages on your wiki. A well-crafted navigation menu will help readers find key content that they are looking. You can link to any page, and it is important to think about what are the most important places for visitors to see when they come to your community. FANDOM recommends adding links to popular pages in addition to links showing where to find the community.
Overview

The navigation menu can be found in the page header at the top of every wiki page. It has the option to add up to four customizable menu options, in addition to the "Explore" menu and "Discuss" button.
- The "Explore" tab is always present in the navigation and provides important wiki links, including Wiki Activity, Random page, Videos, and Images. This menu is not customizable, and no additional links may be added.
- "Discuss" links to your wiki's Discussions. If Discussions and Forum are both enabled, "Discuss" will lead to Discussions while Forum will appear in the "Explore" menu. If Forum is enabled but not Discussions, you will see a "Forum" button instead that leads to the Forum. If neither feature is enabled, "Discuss" will not appear.
- On the right, it indicates a cosmetic image that is uploaded in the page header.
- On the top right corner of the page header, you can find the page count. You can also find a useful button to Special:CreatePage. Registered users will see the Wiki Activity button next to it and administrators will also see a link to the Admin Dashboard.
- On the left, there is a graphical wordmark, along with the community name, where both can be customized via Theme Designer.
Step by step
If you are an administrator, you can edit the navigation menu at MediaWiki:Wiki-navigation. You can also access this in your Admin Dashboard by clicking Top Navigation. Each item in the navigation bar is represented by a line in MediaWiki:Wiki-navigation page. Level 1 items are prefixed with one asterisk (*), level 2 items are prefixed with two asterisks, and level 3 items are prefixed with 3 asterisks. Like so:
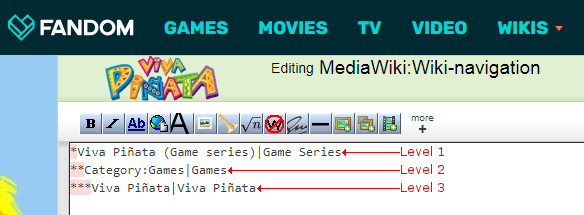
After the asterisk, type the name of the page you are linking to. If you want the name to display differently than the page's actual name, set a pipe between the name of the page and the text you want to display. For example, if you are linking to a page called Lion but you want to display it as Kitten, use Lion|Kitten after the asterisk.
If you don't want a navigation item to link to anything, add
|in front of it.
For example, a navigation bar set to
* #|Content
** Page One
** Page Two
* #|Community
** Blog:Recent posts
** #|Policy
*** Project:Policy|Policy
*** Project:Administrators|Staff
will contain:
- Two Level 1 navigation items, Content and Community, that aren't linking to any pages.
- Four Level 2 navigation items, two being under Content and linking to Page One and Page Two pages on your wiki, and two being under Community and linking to Blog:Recent posts and Policy, with Policy one not linking to anything.
- Two Level 3 navigation items under Policy, first linking to Project:Policy page on your wiki and displaying the text "Policy", and second one linking to Project:Administrators and displaying the text "Staff".
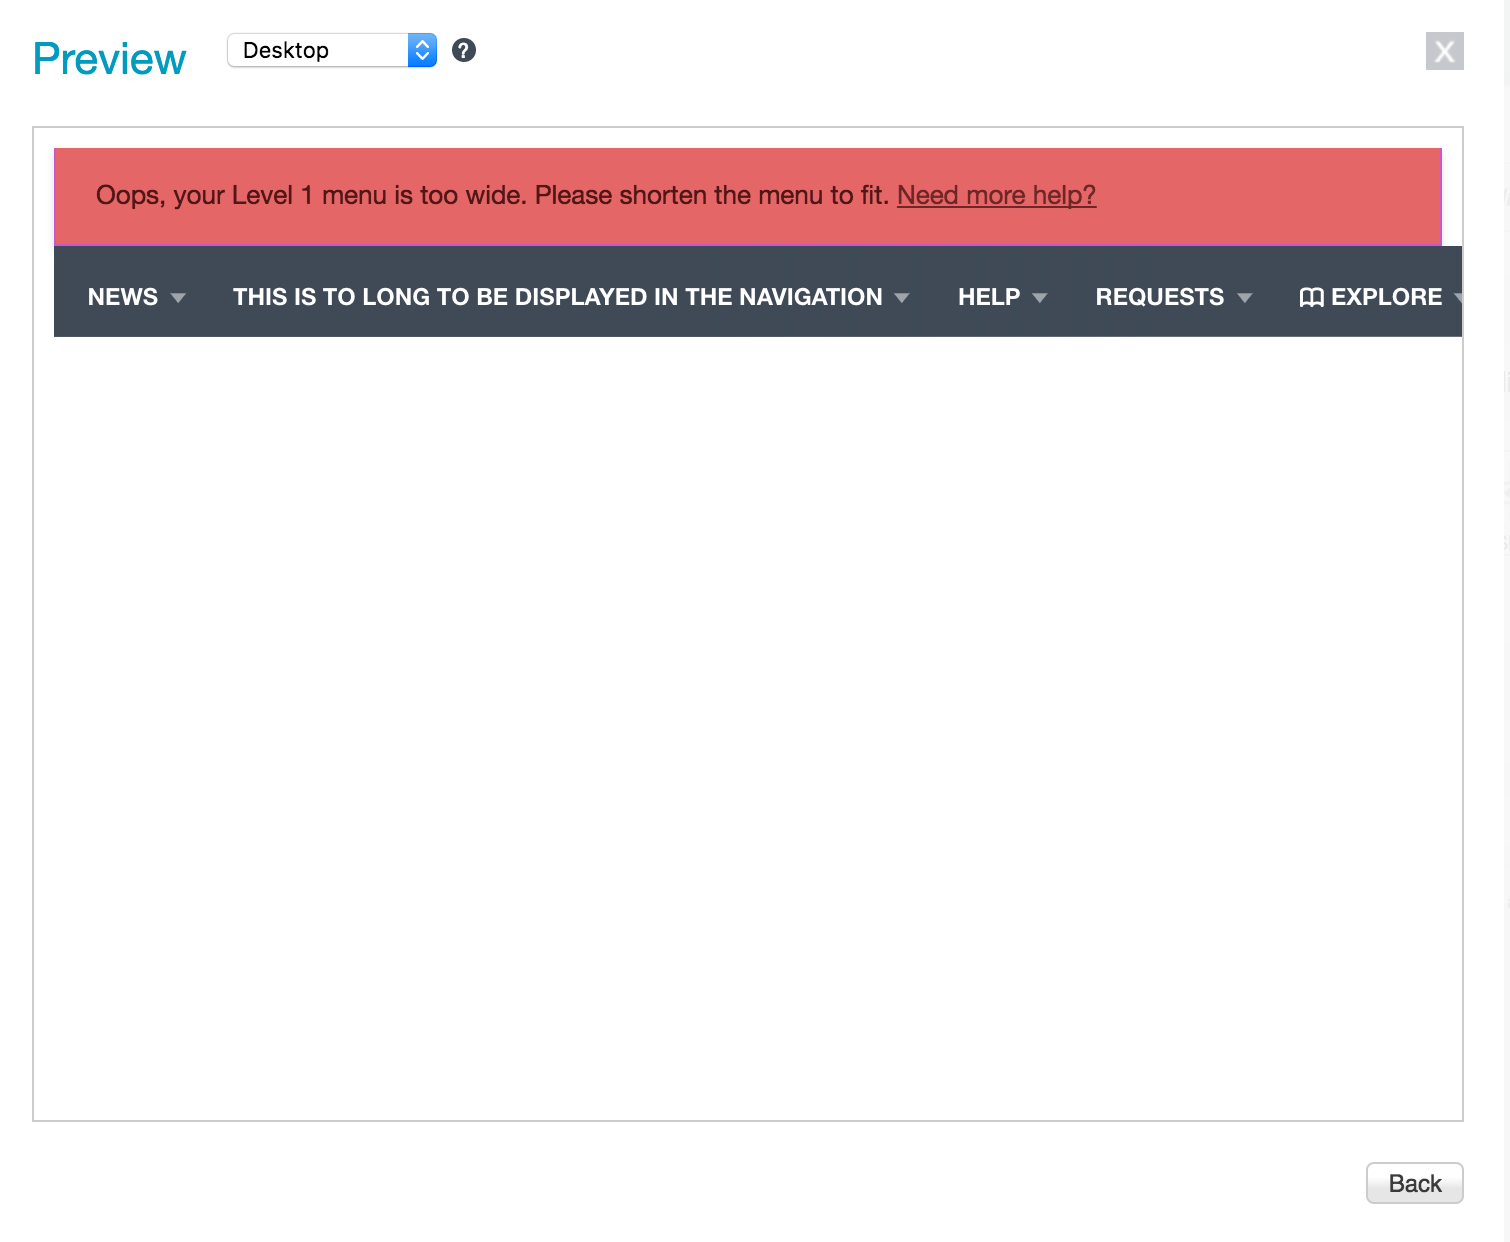
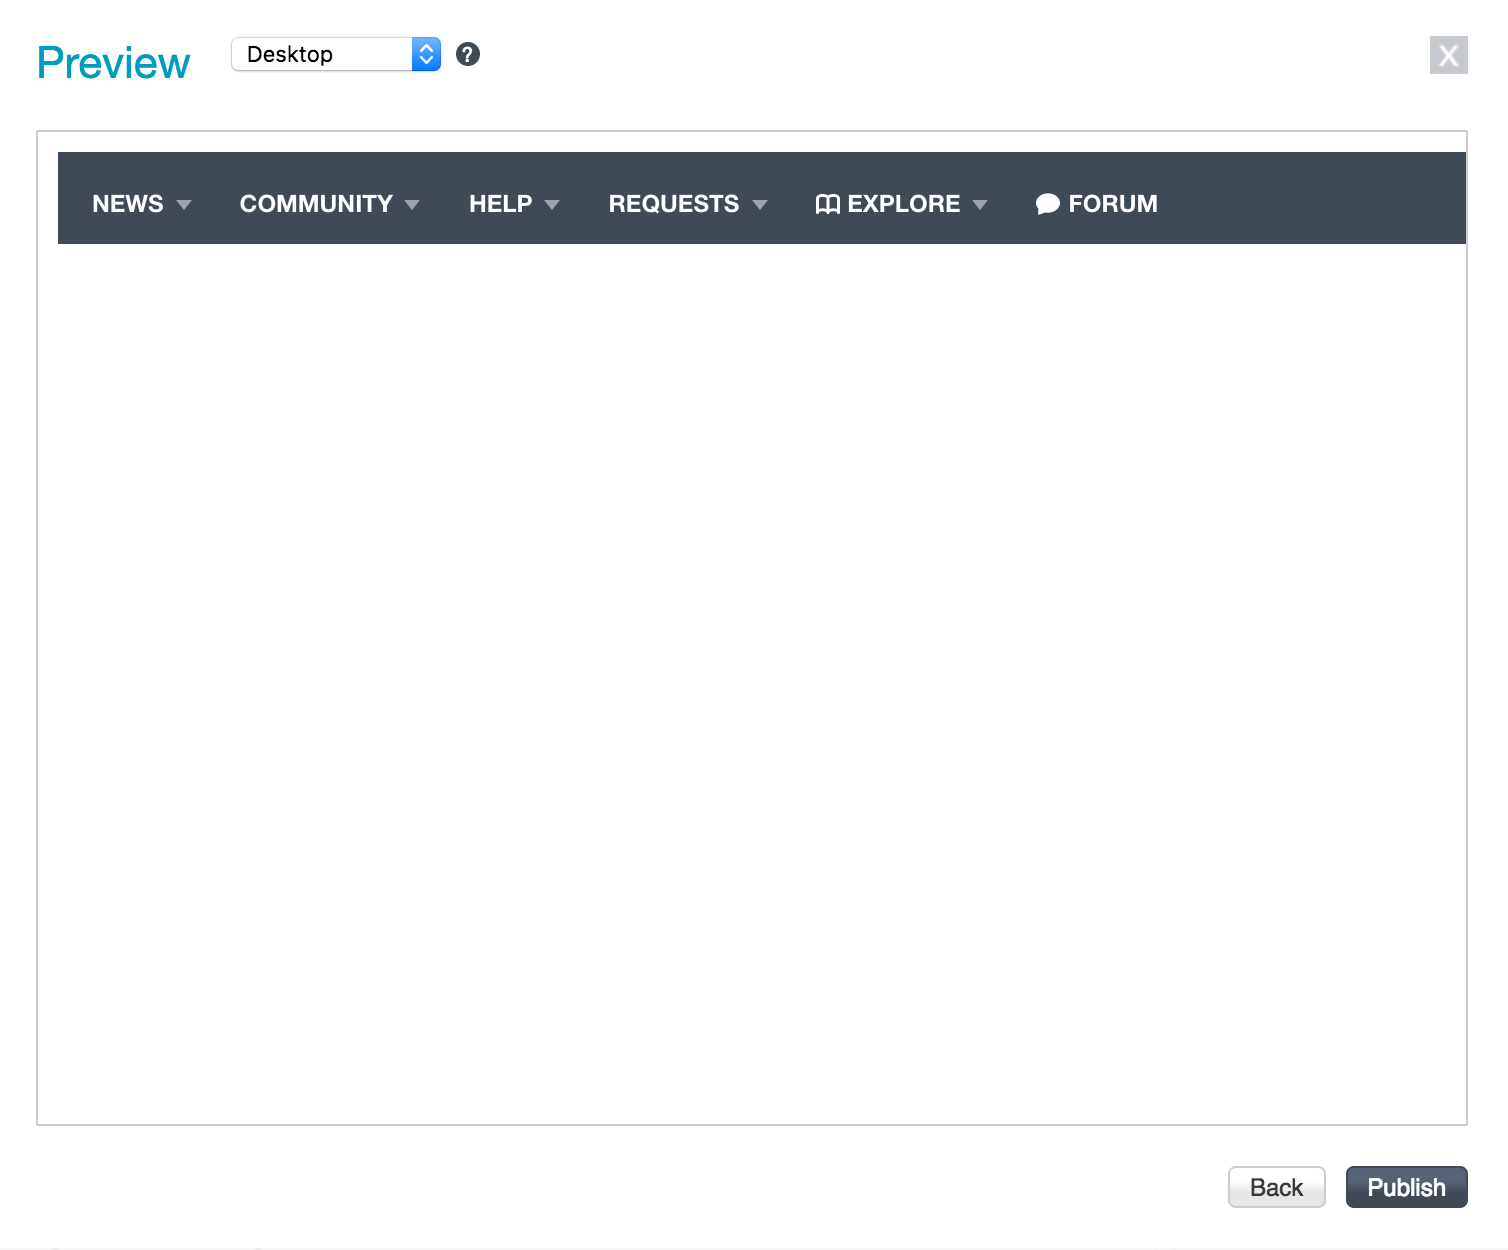
After you make your changes, you will need to Preview the changes before you can Publish them. The Preview button is located beneath the Edit Summary box. The Preview button will show your new navigation and check for errors in the wiki text. For example, it will report an error if you try to use a Magic Word in a Level 1 or Level 3 menu item. It will also run a width validator tool which will inform you if your menu items are too wide to display at the minimum width of the site.
If there are any problems, you will need to return back to the editor to adjust your navigation. When your preview contains no errors, the Publish button will appear in the preview window. Click Publish and your new navigation will be live.

How many links can it contain?
The Navigation menu offers a maximum of 312 links, although it is not necessary to use all of them. The links are grouped as:
- 4 Level 1 links which combine for a total width of 550px. These are the links that are always visible above the colored menu bar.
- 7 Level 2 links with a maximum total width of 729px. These are the links that appear on the colored bar when hovering over any of the level 1 links.
- 10 Level 3 links with a dynamic width and a minimum width of 150px. These appear as dropdown style menus under each of the level 2 links.
No additional links or menu levels may be added with custom CSS or JavaScript.
One way to make sure the navigation has dynamic content that highlights the strengths of your community is to use magic words to automatically fill in menu items.
- To do this, use # symbols around the magic words you choose to use.
- Since magic words generate lists of pages, they may only be used as Level 2 menu items; the list they generate will appear as the Level 3 menu items.
- Supported Magic Words
- #categoryX# - Where X is a number greater than 0. This gets the top 8 pages from the Xth-biggest category on a wiki.
- #category-Y# - Gets the top 8 pages from Category:Y (replace "Y" with the name of your category).
- #visited# — populates a list of the top visited pages from MediaWiki:Most popular articles.
- #newlychanged# — Gets the most recent changes from your wiki.
- #topusers# — gets a list of the most active users.
Next pages
- Learn how to edit your toolbar
- Learn how to view the latest wiki activity
- Learn how to edit the community corner
Further help and feedback
- Browse and search other help pages at Help:Contents
- Check Fandom Community Central for sources of further help and support
- Check Contacting Fandom for how to report any errors or unclear steps in this article